
07 Mar How to Remove Bike Pedals With Some Easy Steps
Changing your bike pedals is a super easy do-it-yourself task in this article I’m going to give you some surefire tips and tricks to get it done in five minutes or less.
You might have found this video because you’ve broken a pedal, you’re upgrading your pedals or you simply need to take them off for travel or maintenance I’m going to take mine off to clean them and grease the spindles.
Tools and Workplace Arrangement
So first let’s take a look at what you need the tools you need are dependent on what kind of pedals you have.
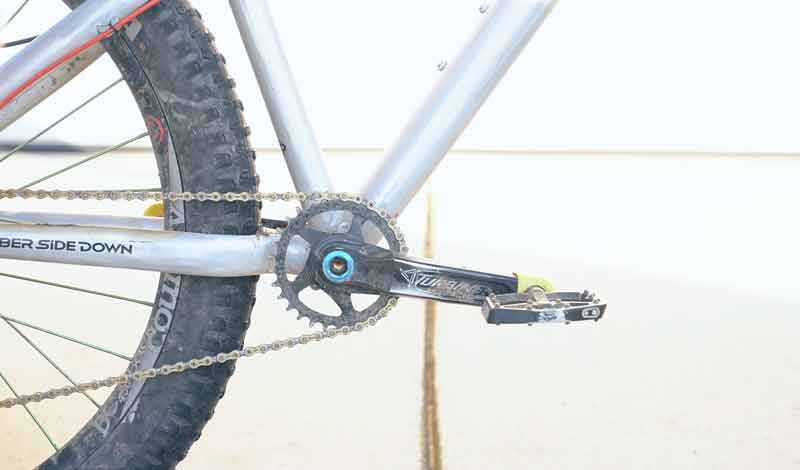
Take a look at your pedals and see if they have an Allen head or wrench flats some have both my pedals use an eight-millimeter Allen wrench.
If you have pedals that use an Allen head, you’re gonna need a six millimeter or eight-millimeter Allen wrench.
If you have pedals with wrench flats, you’re gonna need either a pedal wrench or a low profile 15- or 17-millimeter standard wrench you can use a crescent wrench.
If you are in an absolute vine but I wouldn’t recommend it. It can come loose and you can actually damage your pedals with that.
You’re also going to want a paper towel or an old rag and some grease or anti-seize compound to put on the pedal threads before you reinstall them.
Allen key also a very useful tool if you use an adult BMX bike and that tool is great for BMX bike pedals to change.
First Step: Grab the Pedals
The first and probably the easiest way to remove your pedals is to get your pedals level to grab the opposite brake of the pedals you’re trying to remove.
Step on the pedal you’re removing get your wrench on the pedal and then pull it towards the back of the bike that just broke it free and now you can use the other end of the Allen wrench to thread the pedal out.
It can be easy to forget that the left side pedal or the non-drive side pedal is actually reverse threaded so place your wrench at the top of the pedal and always apply pressure towards the back of the bike when you’re removing the pedals.
In this way, no matter which side of the bike you’re on you’re always applying force in the correct direction.
Second Step: Remove the Pedals
The second way to remove your pedals is simply to stand over your bike reach down and put your wrench on the pedal and then apply force to the opposite pedal and pull your wrench towards the back of the bike.
So, pulling up on the left-side pedal and I’m pulling back on the right-side pedal to break it free.
If your pedals are well maintained and haven’t been over-tightened, of course, these same techniques work on pedals with wrench flats as well.
If your pedals are oxidized or real seized up you may want to spray on some wd-40 let it soak in for a little bit and then give it another go.
Use a paper towel or rag you want to go ahead and clean the threads on the pedals you want to get them nice and clean so that they don’t bind up and that grit and grime out of there when you go to reinstall pedals.
You also want to clean the threads out on the crank arm itself it’s going to have some grit and grime in there as well.
Now we’re going to reinstall the pedals, take a look at your pedals and make sure that you’re installing them on the correct side of the bike.
Pedals are usually marked with an R or L representing the right or left side to install the pedal make sure that you place the washer or spacer or anything that came with a pedal on before you start to thread it in.
Consider adding a little bit of anti-seize or grease to the threads to keep them from binding.
Sometimes I find it difficult to line up the threads so you may want to reverse thread it a couple of times just to get it lined up and then begin threading it in.
I usually tighten it down by hand and then snug it up at the very end with the wrench at the top of the pedal you’re going to apply pressure forward towards the front of the bike.
Opposite of what you did to remove the average pedal-torque spec is about 35-newton meters.
I’m really precise with my pedals I usually just tighten them down by hand and then give them one final snug with a wrench.
You definitely don’t need to over-tighten them if the pedals begin to bind as you’re putting them back on the bike.
Conclusion
You want to stop and back them out to make sure you’ve not to cross-threaded anything otherwise, you can do damage to the pedal threads as well as the crank arms well.
You’re now a bike pedal changing expert and if you want to get more information check Outdoorxsports. I hope one of these methods works for you get out the problems.