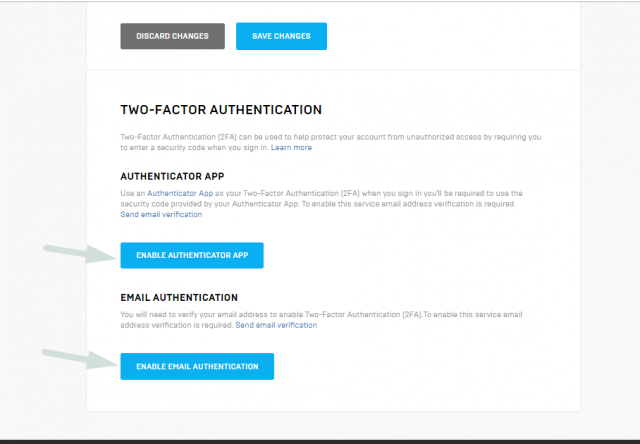
08 Aug How to activate 2FA (Two-factor authentication)
After you are well informed about the best choice of passwords in the many online services you use, you have learned an alternative and safer method to log into your accounts: 2FA (Two-factor authentication), i.e., two-factor authentication. The feature of this system is precisely that of guaranteeing greater protection to your account, using different access tools.
The solution seemed useful and interesting to you and so you immediately started looking for the procedures on how to activate 2FA in your accounts. Great news then! Suppose the research has led you so far. In that case, it will be my pleasure to guide you through the various procedures to activate access via 2FA to your online accounts and social networks, such as Google, Apple, Facebook, Instagram and WhatsApp.
How to activate 2FA?
Well, it’s time to find out how to enable two-factor authentication depending on the service you use. In the following chapters, I will focus on various online accounts, such as those of the most famous social networks, and gaming, talking to you about various consoles and games.
How to activate 2FA on online accounts and social networks?
If you have decided to make your account more secure with a more secure login method than the classic username and password combination, here are the steps you need to follow to enable two-factor authentication in online accounts and social networks.
Google – After logging into your account, click on your account logo at the top right and select Manage Account. Now click on the Security tab on the left, choose the Two-Step Verification item, and then proceed by clicking on the blue Start button. At this point, just follow the on-screen instructions, and that’s it. Please note that even though Google calls it “two-step verification,” it offers 2FA as well; in fact, you can choose to authorize new accesses through specific apps and devices to which only you can have access.
Microsoft – after logging in to your account, scroll down the page and click on the Security button, then on Advanced security options and press the Activate link in the two-step verification box(also, in this case, it is so-called, but it also allows 2FA to be enabled). On the next page, press the Next button, write down the recovery code provided to you (useful in case you want to regain access to your account) and continue to confirm everything. Afterward, choose to add a new login or verification method. Press on Use an app and associate the app for generating the disposable codes you prefer, such as the aforementioned Google Authenticator or Microsoft Authenticator, produced directly by the Redmond giant and available on Android and iOS / iPad. For the association, it is generally sufficient to scan a QR code.
Apple – If you’ve linked an iPhone or other device to your Apple ID account, you can proceed to activate two-factor authentication from your device’s home screen. Go to the Settings menu > [your name]> Password and security. Now choose the Two-Factor Authentication option and tap the Continue button. By doing this, your device is enabled to receive notifications containing an authorization code to be used from time to time when you wish to access your Apple account from a browser. Alternatively, you can enable 2-Step Verification from the Apple ID web management panel.
Facebook – after you have logged into your Facebook account from a browser or app, access the menu ☰ / ▼
Settings and privacy> Settings> Security and access and press on the item Use two-factor authentication and then Activate. Then follow the instructions on the screen and then choose to register an authentication app (such as those mentioned for Google and Microsoft), framing the QR code that is proposed to you.
Instagram – Instagram also uses two-factor authentication through the use of a dedicated app for generating the codes. To enable this method, after logging into the app, press on your profile picture or the little man at the bottom right, then go to ☰> Settings> Security> Two-factor authentication. Continue by pressing on Start and activate the switch next to the Authentication app option. To confirm the two-factor method, enter the code provided by Instagram in the authentication app you intend to use and then the confirmation code returned by the latter in Instagram. Finally, remember to note the recovery codes provided by Instagram. Alternatively, you can also act from the web version of the social network: the steps to take are almost the same.
WhatsApp ( Android / iOS / iPadOS ) – you can activate two-step verification for WhatsApp by accessing the application, going to Settings, then Account> Two-step verification and finally pressing the Activate button. In this way, a numeric code is generated to be remembered to be used at access. Proceed by also entering an email address on which WhatsApp sends a link to disable this method in case of loss of the numeric code just generated.
Please note: some services or apps to which you may want to link your 2FA protected accounts may not support the use of disposable codes; to remedy this, you will need to access the settings of the 2FA protected accounts and generate a password dedicated to the service/app to be connected.


